


Introduction
The Redmi Note 13 Pro 5G, codenamed “Garnet,” is a powerful device that can benefit from the customization and extended support offered by LineageOS. This guide provides a comprehensive, step-by-step approach to installing LineageOS on your Garnet device, ensuring a smooth transition from the stock ROM to a custom experience.
NOTE
This flashing Guide will work for some other roms also so we will link this article to some other roms so dont get confuse. Use this method if this article is linked to any custom rom Post.
Prerequisites
Before proceeding, ensure you have the following:
- A Redmi Note 13 Pro 5G (Garnet) device with an unlocked bootloader.
- A computer with ADB and Fastboot installed.
- USB drivers for your device installed on the computer.
- A USB cable to connect your device to the computer.
- Backup of all important data, as this process will erase all data on the device.
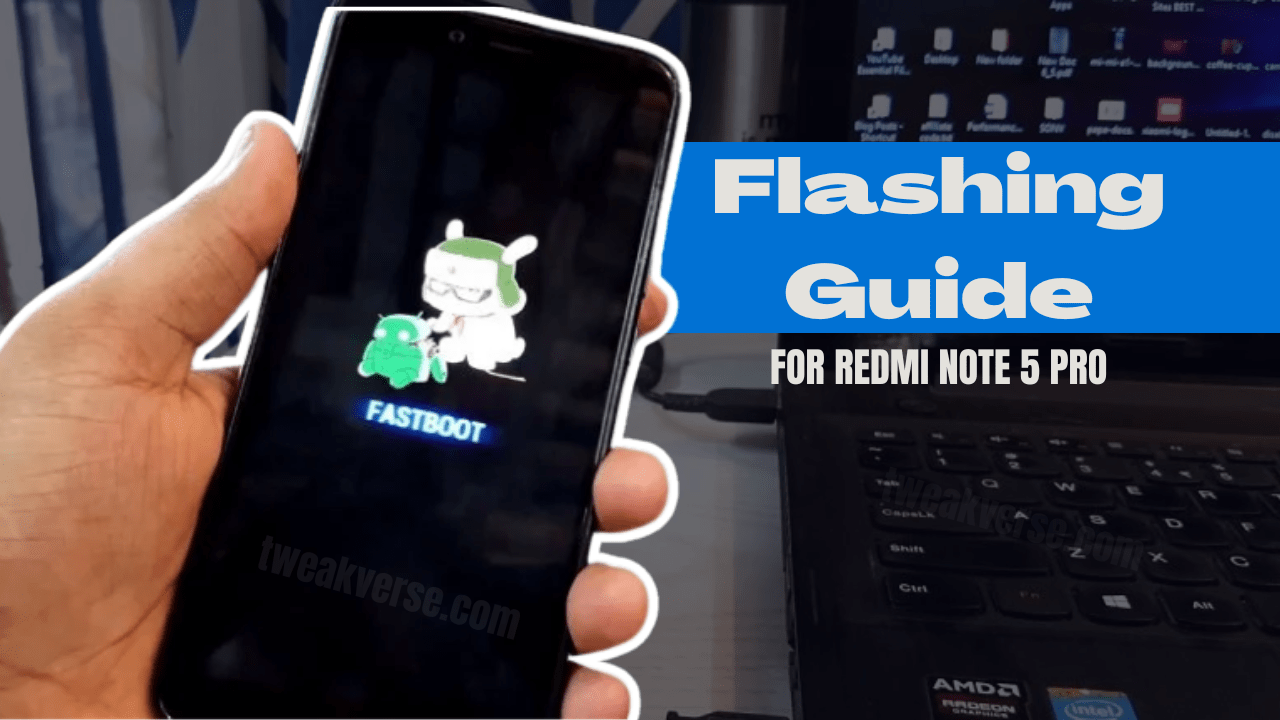
Flashing Guide:
Step 1: Unlock the Bootloader
Unlocking the bootloader is essential for installing custom recoveries and ROMs. Follow the official Xiaomi bootloader unlocking procedure:
- Enable Developer Options on your device by going to Settings > About phone and tapping “MIUI version” seven times.
- In Developer Options, enable “OEM unlocking” and “USB debugging.”
- Use the Mi Unlock Tool on your computer to unlock the bootloader.
Note: Unlocking the bootloader will erase all data on your device.
Step 2: Install Lineage Recovery
LineageOS recommends using its own recovery for optimal compatibility.
- Download the Lineage Recovery image for Garnet from the official LineageOS website.
- Boot your device into Fastboot mode by powering it off and then holding the Volume Down and Power buttons simultaneously.
- Connect your device to the computer via USB.
- Open a command prompt or terminal window on your computer and navigate to the directory where the recovery image is located.
- Flash the recovery image using the following command: nginxCopyEdit
fastboot flash recovery recovery.img
Step 3: Boot into Recovery Mode
After flashing the recovery, boot into recovery mode:
- With the device still in Fastboot mode, use the volume buttons to select “Recovery mode” and press the Power button to confirm.
- Alternatively, if the device has rebooted, power it off and then hold the Volume Up and Power buttons simultaneously to enter recovery mode.
Note: The Lineage Recovery may not have touchscreen support. Use the volume buttons to navigate and the power button to select.
Step 4: Apply Firmware Update
If you’re not already on the stock HyperOS ROM for your region, it’s recommended to flash the appropriate firmware:
- In recovery mode, navigate to “Apply Update” > “Apply from ADB.”
- On your computer, sideload the firmware package using the following command: pythonCopyEdit
adb sideload fw_garnet.zip
- Once the sideload is complete, reboot back into recovery mode.
Step 5: Install LineageOS
- In recovery mode, navigate to “Apply Update” > “Apply from ADB.”
- On your computer, sideload the LineageOS package using the following command: pythonCopyEdit
adb sideload lineage-20.0-*-garnet.zip
- Wait for the installation to complete.
Step 6: Factory Reset
After installing LineageOS, perform a factory reset to ensure a clean installation
- In recovery mode, navigate to “Factory Reset” > “Format data / factory reset.”
- Confirm the action and wait for the process to complete.
Step 7: Reboot to System
Once the factory reset is complete:
- Navigate back to the main menu in recovery.
- Select “Reboot system now.”
Your device will now boot into LineageOS. The first boot may take several minutes
Optional: Install Google Apps (GApps)
If you wish to have Google services on your device:
- Download the appropriate GApps package (e.g., MindTheGapps) for your device’s architecture.
- Boot into recovery mode.
- Navigate to “Apply Update” > “Apply from ADB.”
- On your computer, sideload the GApps package using the following command: pythonCopyEdit
adb sideload MindTheGapps.zip
- Once the installation is complete, reboot to the system.
Optional: Key Migration for Dirty Flashing
If you’re updating from a previous LineageOS build and need to perform a dirty flash due to key changes:
- Download the key migration script from the official source.
- Enable ADB root access: arduinoCopyEdit
adb root adb shell stop
- Push the migration script to your device: perlCopyEdit
adb push migration.sh /data/local/tmp/migration.sh
- Execute the script: swiftCopyEdit
adb shell sh /data/local/tmp/migration.sh dev
- Reboot to bootloader and flash the new vendor_boot and recovery images.
- Boot directly into recovery and sideload the new LineageOS ROM.
Conclusion
Installing LineageOS on your Redmi Note 13 Pro 5G (Garnet) can breathe new life into your device, offering enhanced customization and extended support. By following this guide carefully, you can enjoy a fresh, clean Android experience tailored to your preferences.
Disclaimer: Proceed at your own risk. Ensure you understand each step and have backups of your data before proceeding.


[…] > LineageOS Flashing Guide for Garnet […]
Excellent work! It actually works.
Finally Android 14 on this old device!
The ROM feels polished and refined.